Project Overview
Flowers are a thoughtful gift, and you can take that bouquet to the next level by learning how to wrap flowers with materials you probably already have on hand.
It doesn’t matter if you purchase them from the grocery store, order from a florist, or pick them from your garden: A beautiful bouquet makes a lovely and thoughtful gift. If you take care when planning your floral presentation, even down to the gift wrap, you’ll find that the extra bit of effort transforms your arrangement from ordinary to spectacular. Here’s how to wrap your flowers to impress.
What You’ll Need
Equipment / Tools
- Scissors
- Stapler (optional)
- Bone folder (optional)
Materials
- Heavy-duty wrapping paper or Kraft Paper
- Tissue paper
- Clear tape
- Bouquet of flowers
- Ribbon or raffia
Instructions
Step 1:
Cut Wrapping Paper to Size and Place Face Down on Table
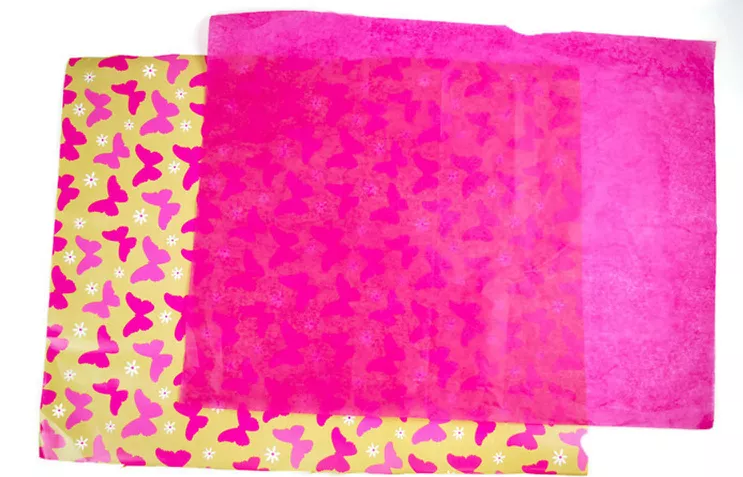
Cut the wrapping paper into a 20×26-inch rectangle. If your bouquet is extra large, you may want to use a bigger sheet.
Place the wrapping paper face down on your table.
Place tissue paper onto the wrapping paper, covering the entire back.
Step 2:
Position the Flowers Diagonally Onto the Wrapping Paper
Place the wrapping or kraft paper face down onto your work surface.
Turn the sheet diagonally so that a point is on top.
Cover with a square of tissue paper, ensuring the tissue paper covers the wrapper accurately.
Slide the tissue paper over the point so that an inch of the paper is over the top of the pointed edge. When the flowers are wrapped, the paper will peek out over the side of the wrapper, adding a pretty contrast to the floral presentation.
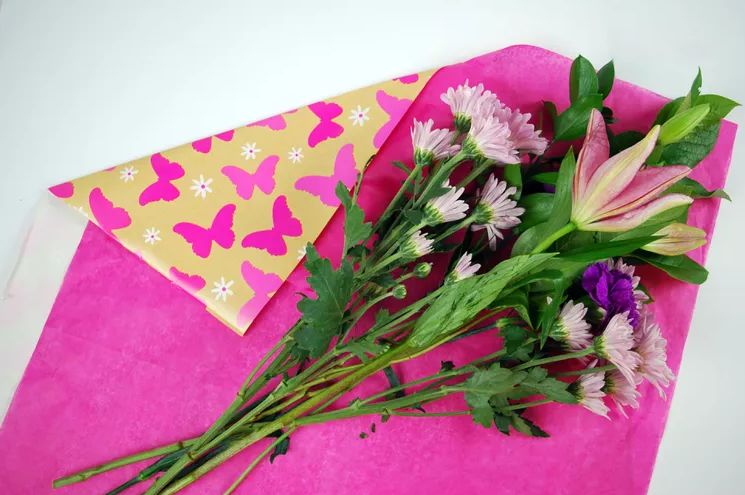
Arrange the bouquet in your hand. Place the greenery on the bottom and the flowers on top in an attractive arrangement. It may be difficult initially, but holding the bouquet in your hand becomes more comfortable with practice.
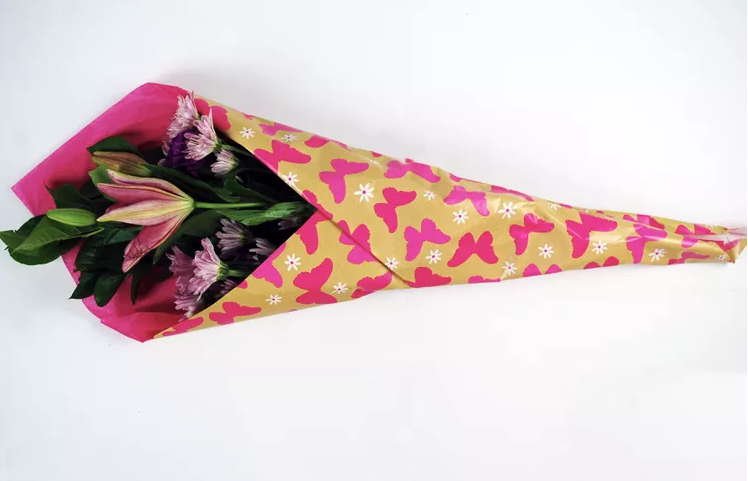
Place the flowers on the tissue paper diagonally, as in the photo below.
Double-check the position of the flowers in your bouquet and make any necessary adjustments.

Step 3:
Fold the Wrapping Paper Around the Bouquet
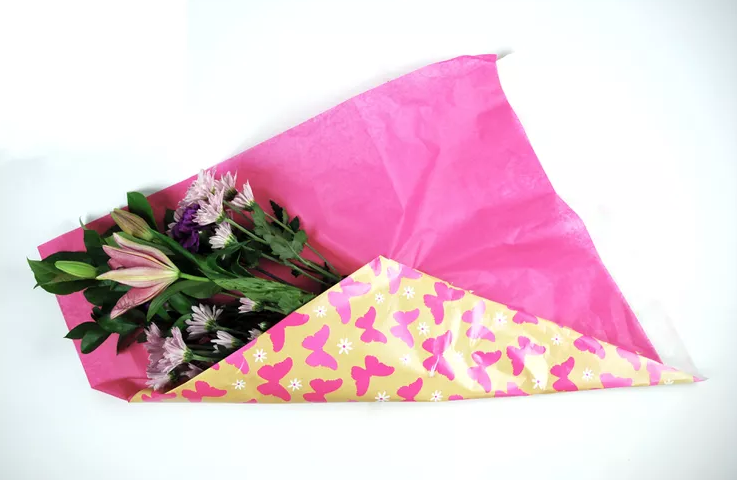
Gently fold the left corner of the outside wrapper and tissue paper diagonally toward the center, as in the photo above, being careful not to wrinkle the wrapper or tissue paper underneath.
Tip
Running a bone folder over the crease will give it a clean, crisp edge.
Step 4:
Fold the Wrapper and Secure With Tape
Fold the left corner again over the flowers and secure with clear tape.
Step 5:
Fold the Right Corner of the Wrapper Diagonally Toward the Center
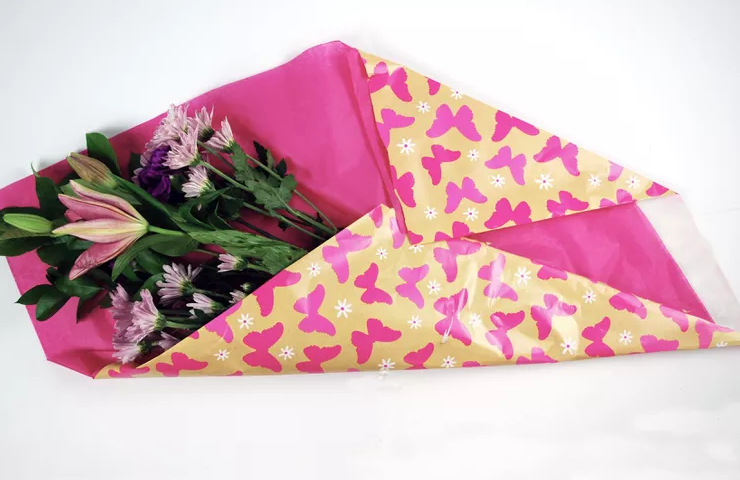
Fold the right corner of the wrapper and tissue paper diagonally toward the center, as in the photo below.
Step 6:
Secure the Back of the Wrapped Floral Bouquet With Tape
Wrap the right corner once again over the flowers and secure it to the back of the package with clear tape. You can also use a stapler to secure your floral package.
Step 7:
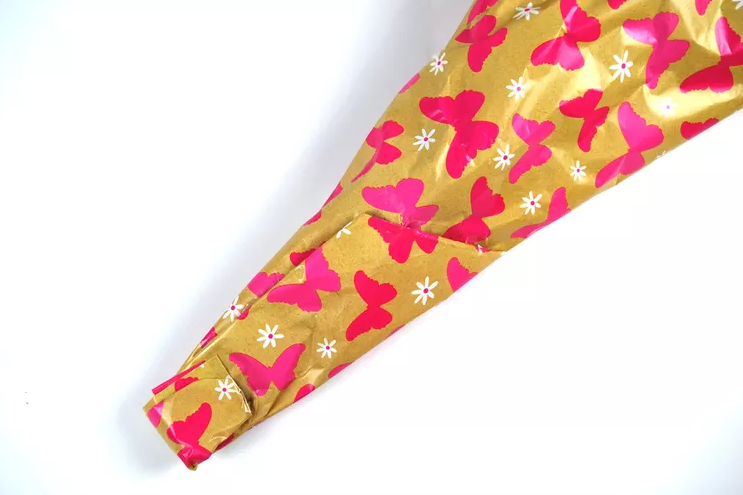
Fold the Bottom Over and Secure With Tape
The floral wrapper will have a point at the bottom. Turn the flower package over, fold the end up, and secure it with tape.
Step 8:
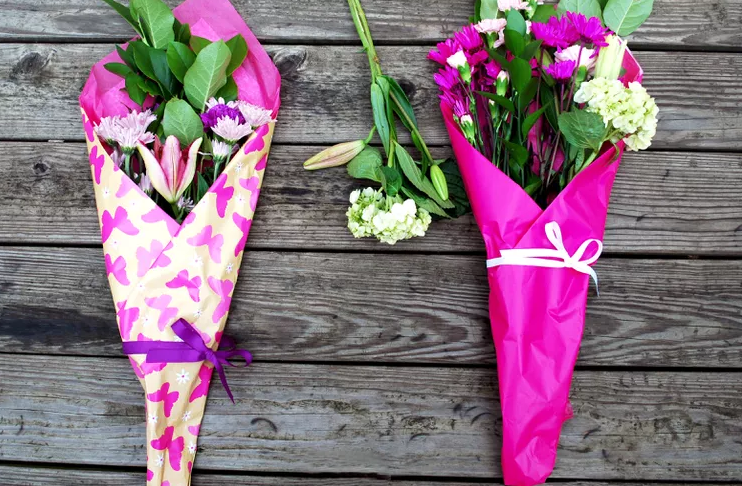
Tie Pretty String or Raffia Around the Wrapped Bouquet
Tie a pretty matching string, ribbon, or raffia around the floral package, then give your beautifully wrapped flowers to someone and watch them smile with delight!
You don’t have to wait for Valentine’s Day to give the object of your affection a gift of flowers. Make someone’s day today. A bouquet is a beautiful and straightforward presentation that takes little time, effort, and money but makes an excellent and lasting positive impression on your gift recipient.